
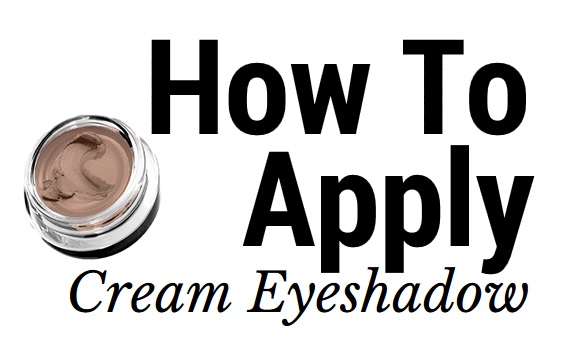
How To Apply Cream Eyeshadow
My friend Jen recently asked me how to apply cream eyeshadow because she had purchased some of the new Maybelline Color Tattoo Eye Chrome Cream Eyeshadows from the Maybelline Summer 2016 Collection. She was struggling with building the color up and explained that each time she applied, it would quickly sheer out as she blended.
She went on to tell me this was the reason she never purchased cream eyeshadows and how much she hated the formula. I can relate! For a long time, I hated cream eyeshadows! I found the formula gunky and difficult to apply. In 2008, I discovered Visee Aqua Shining Eyes and my cream eyeshadow world was forever changed. Visee is a fantastic Japanese brand that launched a range of shimmering cream eyeshadows I absolutely adored. Obviously the sparkle factor was the key selling point for me but I also learned a lot about cream eyeshadow application after purchasing all the shades available in the catalog!
Thanks to that formula I have ever after been a cream eyeshadow girl. I think sometimes folks avoid them as they feel like cream eyeshadow is a hassle to apply. Personally, I think they are fabulous for quick and brilliant eyeshadow looks quickly and easily.
I thought I’d do a post on how to apply cream eyeshadow if you’re currently struggling with application!
Here’s my secret for application!
Personally, I think cream eyeshadows that come housed in a barrel with an attached applicator are most definitely easier to apply. The applicator makes it easy to swipe on, blend out, and go. Cream eyeshadows in a pot are easy enough as well but I find they tend to be a bit more thicker compared to the creamy fluid formula most cream eyeshadows packaged in a barrel have.
Currently, I’m testing out the new Maybelline Color Tattoo Eye Chrome Cream Eyeshadows myself and I totally get what Jen was experiencing. Initially most cream eyeshadows blend out sheerly. In my experience, the best technique to build, blend, and get an intense color pay off is by layering. Here’s the trick to it! Swipe on a thicker layer of the eyeshadow using the applicator. Now let it sit for a few minutes! Don’t blend it right away! Don’t even touch it after swiping it on. I find if it sets just a little bit before blending it’ll create bit of tackiness for your second layer to adhere to. Now you don’t want it to completely set, just let it stand for a few seconds before blending out. This trick seems to help the shadow to retain its pigment and also allows for a bit of tackiness. So, when you do finally blend it won’t sheer completely away. After that initial layer and application, you can begin to apply more of the cream eyeshadow. This time, don’t wait! Blend, with your pointer finger by gentle patting and swiping outward! You can use this same method with most any formula including cream eyeshadows in a pot. I find it works about 99% of the time but occasionally I’ll run into a very quick dry formula that I can’t let sit for a few seconds. In this case, I do have to blend right away. You can judge easy enough though on which formulas it will and won’t work with. The ones that don’t set super fast are best for this little application trick!
Done!

Wearing Maybelline Color Tattoo Eye Chrome in Bronze Sheen
Try it, I think you’ll be impressed how much easier it is to blend and build your cream shadow using this method. And most important don’t forget to apply eyeshadow primer prior so, your cream shadow has a good solid base to lock on to.
Good Luck!
And let me know how you apply cream eyeshadows in the comments!
Share your tips and tricks for perfect application!